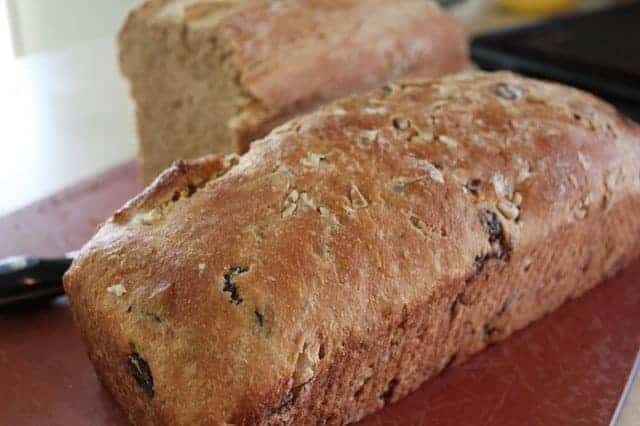
Remember Peter Reinhart’s Whole Grain Breads book? Well, we’ve done some more tweaking, and this variation of the Whole Wheat Cinnamon Raisin Bread has become, well, addictive.
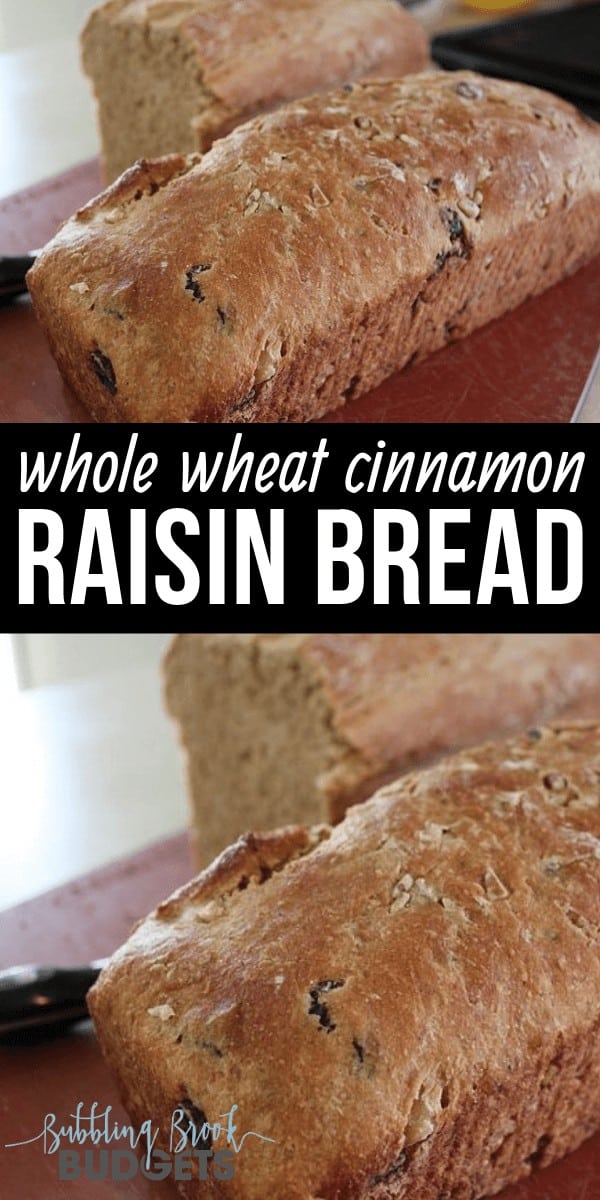
We can’t stop eating it.
I can’t tell you how many loaves I’ve made these last couple weeks, but I will say that I made a triple batch over the weekend. Tripling the recipe worked perfectly with my two 12-inch bread pans. I proudly offered one of the beauties to my mama for Mother’s Day. Now I think she’s addicted, too!
Be aware, there’s quite a process involved in making the bread, but it’s worth it, and it gets easier each time you do it. Consider it a yummy weekend project.
The soaker and biga pre-doughs need to be made the night before. This allows for better digestion and a softer taste. You can really taste the difference, too; yes, this bread is heavy, but it doesn’t have a rough or chewy texture like many whole grains bread do. It is very smooth.
I like to use organic hard white wheat and grind it myself. I’ve also had success with whole wheat flour from the grocery store, most recently the Early Morning Harvest brand. Amazon also offers bags of freshly ground whole wheat flour (who knew?!). King Arthur is another good brand.
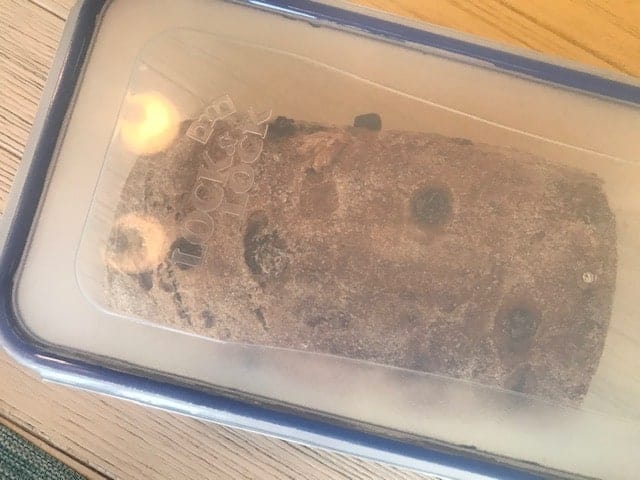
We use this Lock&Lock container to store our bread and keep it fresh:
Whole Wheat Cinnamon Raisin Bread Recipe
Here’s what you do:
Soaker:
1 1/3 c whole wheat flour
3/8 tsp salt
3/4 c milk
1 c raisins
Combine flour, salt, and milk; mix for one minute. Add raisins and knead until mixed together well.
Cover loosely at leave out on the counter overnight.
Biga:
1 1/3 c whole wheat flour
1/4 tsp yeast
6 tbsp milk
1/4 c melted butter or oil
1 large egg
Mix together. Using wet hands, knead dough in a bowl for two minutes. Dough should still feel tacky. Let dough rest for about five minutes, then knead again with wet hands for one minute.
Transfer to a clean bowl. cover, and refrigerate overnight.
In the morning, about two hours prior to mixing the final dough, set out the biga so that it can return to room temperature.
Final Dough:
All of soaker
All of biga
5/8 tsp salt
2 1/4 tsp yeast
2 tbsp honey
1/2 tsp cinnamon
3/4 c chopped walnuts
Chop or tear the soaker and biga into 12 smaller pieces, and dust with flour so that they don’t stick back to each other.
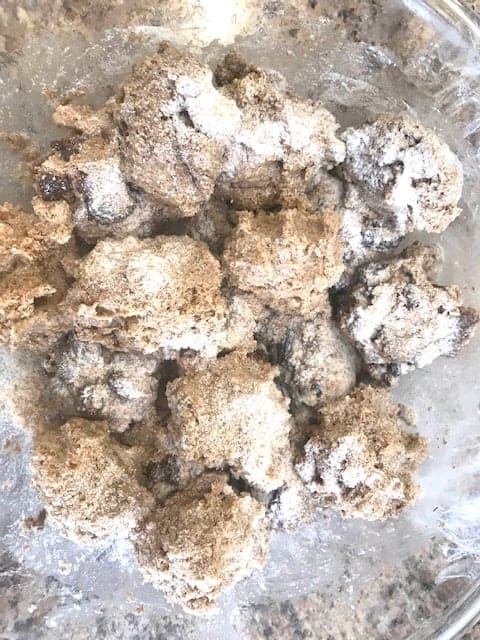
Combine soaker and biga pieces in a bowl with the salt, yeast, honey, and cinnamon. Knead with wet hands for about two minutes. The dough should be slightly sticky; use more flour or water for adjustments if necessary.
Add walnuts and knead for 3-4 more minutes, until dough is tacky but not sticky. Form dough into a ball and let it rest for five minutes while you prepare a lightly oiled bowl.
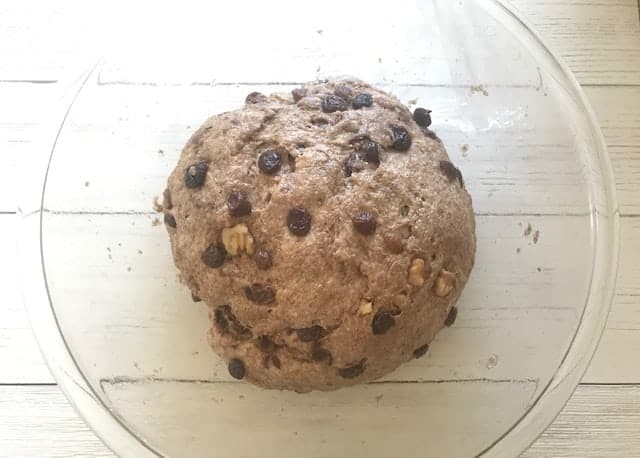
Resume kneading the dough for one minute. Form the dough into a ball and place it into the prepared bowl. Cover loosely and let rise at room temperature for 60 minutes.
It will rise from this…
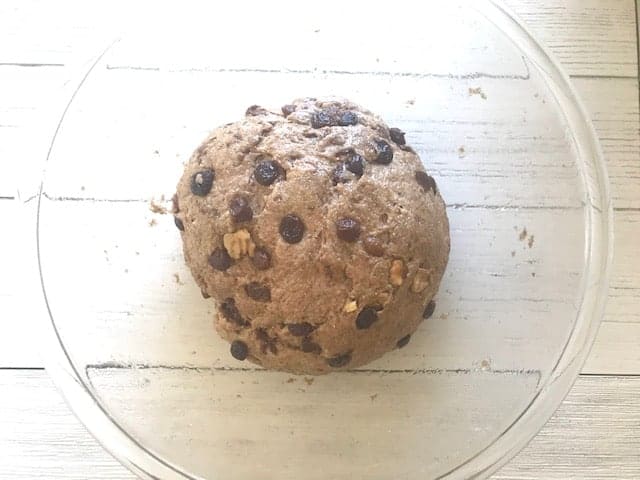
to this…
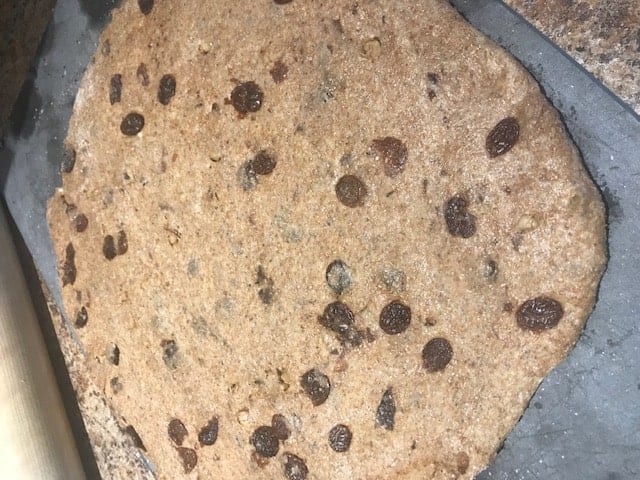
When the dough has risen, sprinkle a work area with flour and gently roll the dough out into an 8-inch square.
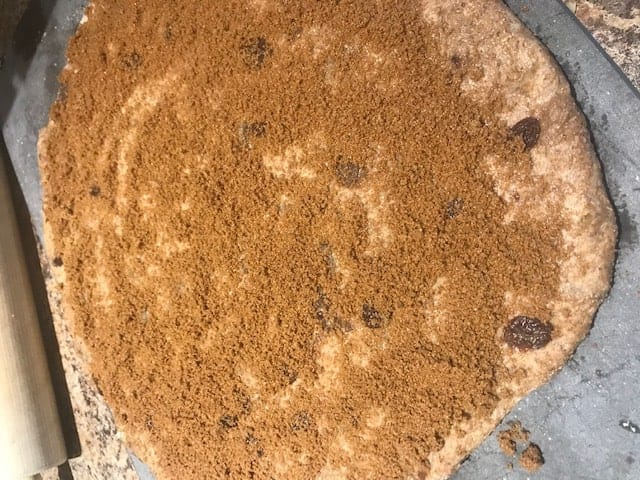
Sprinkle cinnamon and sugar over the surface and roll into a tight loaf.
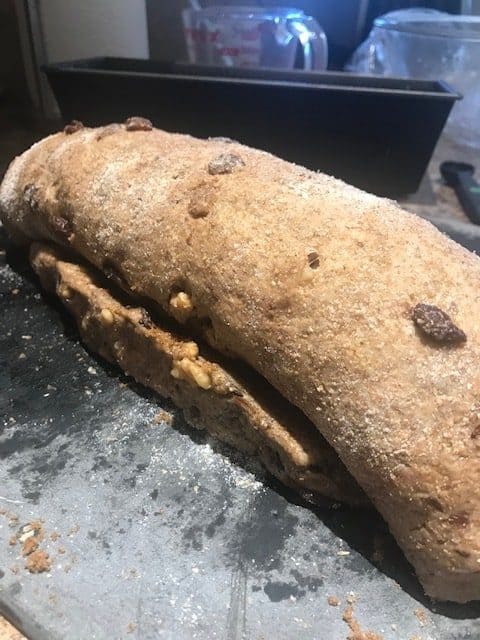
Place dough into oiled 4 1/2 by 9 inch standard bread pan. (I’m using my larger Norco bread pan for this recipe, because I like to mix extra dough to create a larger loaf of bread; to do this, increase all ingredients by 50%.) Cover loosely, and let rise for 60 minutes.
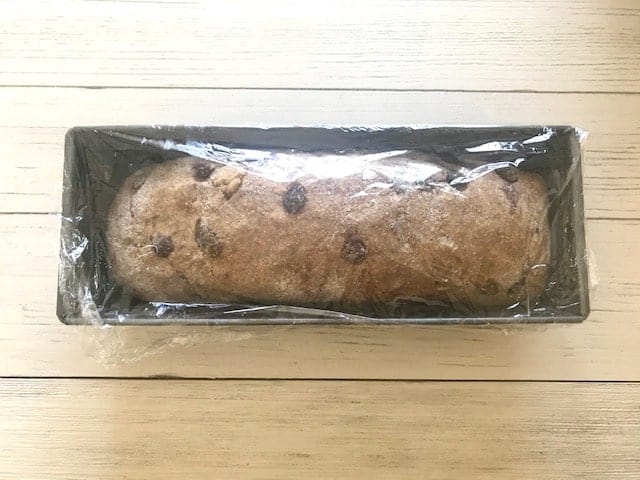
Preheat the oven to 400. Place the bread pan on a middle shelf, and lower the temperature to 325. Bake for 20 minutes, then rotate the pan 180 degrees and bake another 25-40 minutes, until done.
Place bread onto a cooling rack and let cool for an hour before serving.
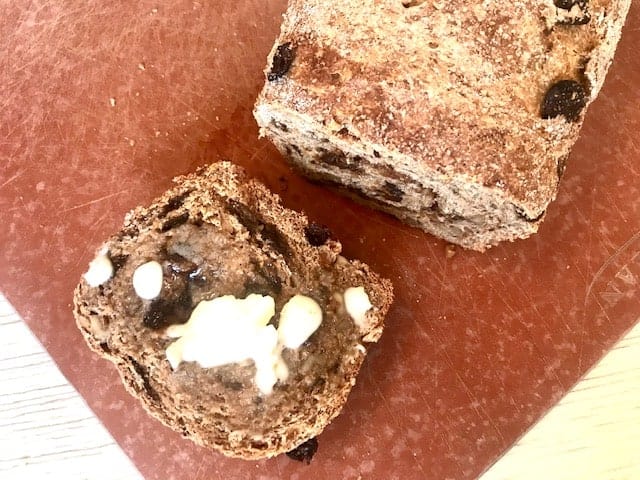


Whole Wheat Cinnamon Raisin Bread
This delicious whole wheat cinnamon raisin bread makes a yummy weekend baking project!
Ingredients
SOAKER (DAY 1)
- 1 1/3 cup whole wheat flour
- 3/8 teaspoon salt
- 3/4 cup milk
- 1 cup raisins
BIGA (DAY 1)
- 1 1/3 cup whole wheat flour
- 1/4 teaspoon quick rise yeast
- 6 tablespoons milk
- 1/4 cup melted butter or oil
- 1 large egg
FINAL DOUGH (DAY 2)
- All of soaker
- All of biga
- 5/8 teaspoon salt
- 2 1/4 teaspoon quick rise yeast
- 2 tablespoons sugar or honey
- 1/2 teaspoon cinnamon
- 3/4 cup chopped walnuts
Optional
- 1/3 cup sugar and 1 tablespoon cinnamon for when you roll up your dough (see step 9)
Instructions
- On day 1, pull out two large bowls and make your soaker and biga.
- Using soaker ingredients, combine flour, salt, and milk in one of the bowls; mix with wet hands for one minute. Add raisins and knead until mixed together well. Cover loosely with plastic wrap and leave out on the counter overnight.
- Using biga ingredients, mix all together. Using wet hands, knead dough in a bowl for two minutes. Dough should still feel tacky. Let dough rest for about five minutes, then knead again with wet hands for one minute. Transfer to a clean bowl, cover, and refrigerate overnight. In the morning, about two hours prior to mixing the final dough, set out the biga so that it can return to room temperature.
- On day two, chop or tear the soaker and biga into 12 smaller pieces, and dust with flour so that they don't stick back to each other.
- Combine soaker and biga pieces in a bowl with the salt, yeast, sugar/honey, and cinnamon. Knead with wet hands for about two minutes. The dough should be slightly sticky; use more flour or water for adjustments if necessary.
- Add walnuts and knead for 3-4 more minutes, until dough is tacky but not sticky. Form dough into a ball and let it rest for five minutes while you prepare a lightly oiled bowl.
- Resume kneading the dough for one minute. Form the dough into a ball and place it into the prepared bowl. Cover loosely and let rise at room temperature for 60 minutes.
- After the dough has risen, sprinkle a work area with flour and gently roll the dough out into an 8-inch square.
- Sprinkle 1 tablespoon cinnamon and 1/3 cup sugar over the surface then roll into a tight loaf.
- Place dough into oiled 4 1/2 by 9 inch standard bread pan. Cover loosely, and let rise for 60 minutes.
- Preheat the oven to 400. Place the bread pan on a middle shelf, and lower the temperature to 325. Bake for 20 minutes, then rotate the pan 180 degrees and bake another 25-40 minutes, until done.
- Place bread onto a cooling rack and let cool for an hour before serving.
Notes
We love this bread, so when I make it I increase all these ingredients by 50%. Instead of the traditional bread pan, I use my large Norco bread pan. We store it in a Lock&Lock bread container for freshness.
Nutrition Information:
Yield:
10Serving Size:
1Amount Per Serving: Calories: 445Total Fat: 20gSaturated Fat: 6gTrans Fat: 0gUnsaturated Fat: 12gCholesterol: 33mgSodium: 381mgCarbohydrates: 63gFiber: 6gSugar: 20gProtein: 9g
This is an estimate only.



Yum! We love raisin bread. I'm going to have to give this one a try.
Thank you for sharing!
Have a great day!
Sherry
Those loaves look beautiful! Thanks for sharing the recipe.
Thanks Sherry and April! So glad you stopped by :o)
Jaime G
This looks awesome! Perfect weekend project.
I adore home made bread, although I rarely have time to make it. Your loaves look amazing! I'll have to try this recipe sometime. 🙂
Thanks for linking up to Food Revolution Friday!
Yum, sounds wonderful. I’ve never made bread using a biga or soaker. I guess it’s not much more complicated than setting my sourdough starter overnight. I should branch out and try. I would love to get a grain mill one day. We have a wonderful local store that sells grains and mills.
Currently in the process of making this bread and what a project it has been! A little worried because it doesn’t seem to have risen at all in any of the resting periods. I just bought the yeast yesterday, so I know it isn’t old, and I’ve followed the directions exactly.
It should be rising over the edges of the bread pan in the next 45 minutes before baking – keeping my fingers crossed!
The bread is baking in the oven as I type and it smells delicious. I didn’t get as much of a rise as you did, and I left it in the oiled pan for over and hour waiting for it to crest the the pan. This is my first attempt at making a bread with a biga and soaker, so I am not sure what i may have done wrong.
As we shelter in place, I thought that this would be a great project. During the ’70s and ’80s, bread making was more common for stay at home moms. In the ’90s, I started using a bread machine. This was my first attempt to prepare bread by hand in many years.. The terms biga and soaker were not familiar to me so I learned something new. On wikipedia there information on biga. This bread is both delicious and healthy and would be costly to purchase at the market. Like another reviewer mentioned, my l bread did take longer to rise and did not as high as yours but I was happy with the results. For breakfast, I put slices on a baking tray with butter on them and baked them until the butter melted. Served jam on the side. Thank you for sharing!
Love hearing this, Linda. My family requests this bread often. Enjoy!
After trying a whole lot of delicious recipes, I tried this yesterday and it came out perfect! My husband loves this?
Glad to hear it! My husband loves it, too!